Baking & Pastry > Decorating & Finishing > Cookie Decorating > Working with Royal Icing (Flooding & Outlining)
Royal Icing Mastery: Outlining and Flooding Techniques
Learn the art of cookie decorating with royal icing! This recipe and guide provides a comprehensive understanding of how to create both outlining and flooding consistencies for professional-looking cookies. Master the techniques for sharp outlines and smooth, even flooding, along with tips for achieving perfect results every time. From mixing the icing to troubleshooting common problems, this guide has you covered.
Ingredients
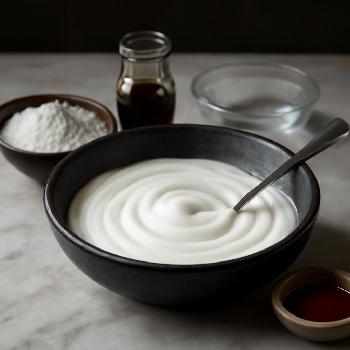
- 4 cups Powdered Sugar
- 3 tablespoons Meringue Powder
- 5-7 tablespoons Warm Water
- 1 teaspoon Vanilla Extract (optional)
- As needed Gel Food Coloring
Making the Royal Icing Base
In a large bowl, combine the powdered sugar and meringue powder. Whisk until well combined to ensure even distribution and prevent lumps. This step is crucial for a smooth royal icing consistency.
Gradually add the warm water, one tablespoon at a time, while mixing on low speed with an electric mixer or using a stand mixer with the paddle attachment. Continue mixing until the icing forms stiff peaks. This typically takes 5-7 minutes. Be careful not to overwhip, as this can incorporate too much air.
Add the vanilla extract (if using) and mix until combined. The vanilla enhances the flavor of the icing but is optional.
Achieving the Right Consistencies
Outlining Consistency: Remove about 1/4 of the royal icing and place it in a separate bowl. Add a few drops of water at a time, mixing well after each addition, until the icing reaches a toothpaste-like consistency. It should hold its shape when piped and not spread. This is ideal for creating borders and intricate details.
Flooding Consistency: To the remaining royal icing in the larger bowl, add water, a few drops at a time, mixing well after each addition, until the icing reaches a consistency similar to thick glue or shampoo. When you lift a spoonful and let it drizzle back into the bowl, it should smooth out within 5-10 seconds (this is known as the '10-second rule'). This consistency is perfect for filling in the outlined areas of your cookies.
Coloring the Icing
Divide the outlining and flooding icing into separate bowls as needed for different colors. Add gel food coloring, one drop at a time, mixing well after each addition, until you achieve the desired color. Gel food coloring is preferred over liquid food coloring as it won't alter the icing consistency as much.
Piping the Outlines
Transfer the outlining icing to a piping bag fitted with a small round tip (size #1 or #2). Outline the edges of your cookies with a steady hand, applying even pressure to create a clean, crisp line. Let the outlines dry for about 15-20 minutes before flooding.
Flooding the Cookies
Transfer the flooding icing to a piping bag or squeeze bottle. Flood the outlined areas of your cookies with the thinned icing. Use a toothpick or scribe tool to gently guide the icing into all the corners and pop any air bubbles. If you want to add sprinkles, do it now while the icing is still wet.
Drying and Storage
Allow the flooded cookies to dry completely, uncovered, at room temperature. This usually takes 6-8 hours or overnight. Once dry, the cookies can be stored in an airtight container at room temperature for up to a week.
FAQ
-
Why is my royal icing too thick?
Add water, a few drops at a time, mixing well after each addition, until you reach the desired consistency. Be careful not to add too much water, as this can make the icing too thin. -
Why is my royal icing too thin?
Add powdered sugar, one tablespoon at a time, mixing well after each addition, until you reach the desired consistency. If it's extremely thin, consider making a fresh batch of royal icing base and gradually adding the thinned icing to it. -
How do I prevent air bubbles in my flooded cookies?
Use a toothpick or scribe tool to gently guide the icing into all the corners and pop any air bubbles immediately after flooding. Gently tap the cookie on the counter to help release trapped air. -
Can I use this icing for gingerbread houses?
Yes, but use the outlining consistency. The thicker consistency will provide the necessary support and structural integrity for assembling gingerbread houses.