Soups & Stews > Soup Making Techniques > Blending Soups > Safely Blending Hot Soup
Mastering the Art of Blending Soups for Creamy Perfection
Discover the secrets to achieving flawlessly smooth and creamy soups through proper blending techniques. This guide covers different methods and considerations for creating the perfect soup texture.
Understanding the Goal: Smoothness and Texture
The primary goal of blending soup is to achieve a smooth, consistent texture. This means eliminating any chunks or lumps and creating a velvety mouthfeel. The appropriate blending technique depends on the desired level of smoothness and the type of ingredients used.
Immersion Blending: Convenience and Control
Immersion blenders offer excellent control over the blending process and are ideal for creating partially smooth or rustic soups.
Countertop Blending: Ultra-Smooth Results
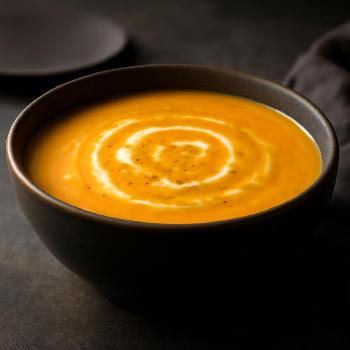
Countertop blenders are capable of achieving the smoothest textures, making them perfect for pureed soups and bisques.
Food Processor: An Alternative Option
A food processor can be used as an alternative to a blender, especially for smaller batches of soup. However, the results may not be as smooth as with a high-powered blender.
Tips for Enhanced Creaminess
Nutrition Facts Estimated per 100g of product
Note: Nutritional information will vary significantly depending on the ingredients used in the specific soup recipe. This section is to be used as a placeholder for individualized calculations.
Other Considerations for Nutrition
Pay attention to the potential for added fat during the blending process. Some recipes call for incorporating butter or cream to enhance smoothness. Consider using alternatives like pureed white beans or cashew cream for a lower-fat option.
FAQ
-
How can I prevent my soup from becoming gluey when blending?
Avoid over-blending soups containing starchy ingredients like potatoes or beans. Over-blending can release excessive starch, resulting in a gluey texture. Blend only until smooth. -
What if my soup is too thick after blending?
Gradually add broth or water until the soup reaches your desired consistency. Stir well to combine. -
Can I blend soup that contains bones?
No. Blending soup that contains bones can damage your blender and create sharp shards of bone that are dangerous to consume. Always remove bones before blending.